Worklist- Consultation Queue 1
- Upon successful “Login” , user will be directed to the “ Landing Page ”.
- Click the "Worklist" module button on the landing page.
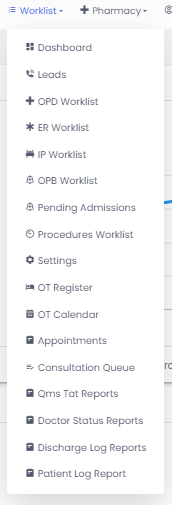
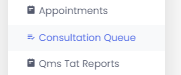
Choosing from a dropdown menu- "Consultation Queue"
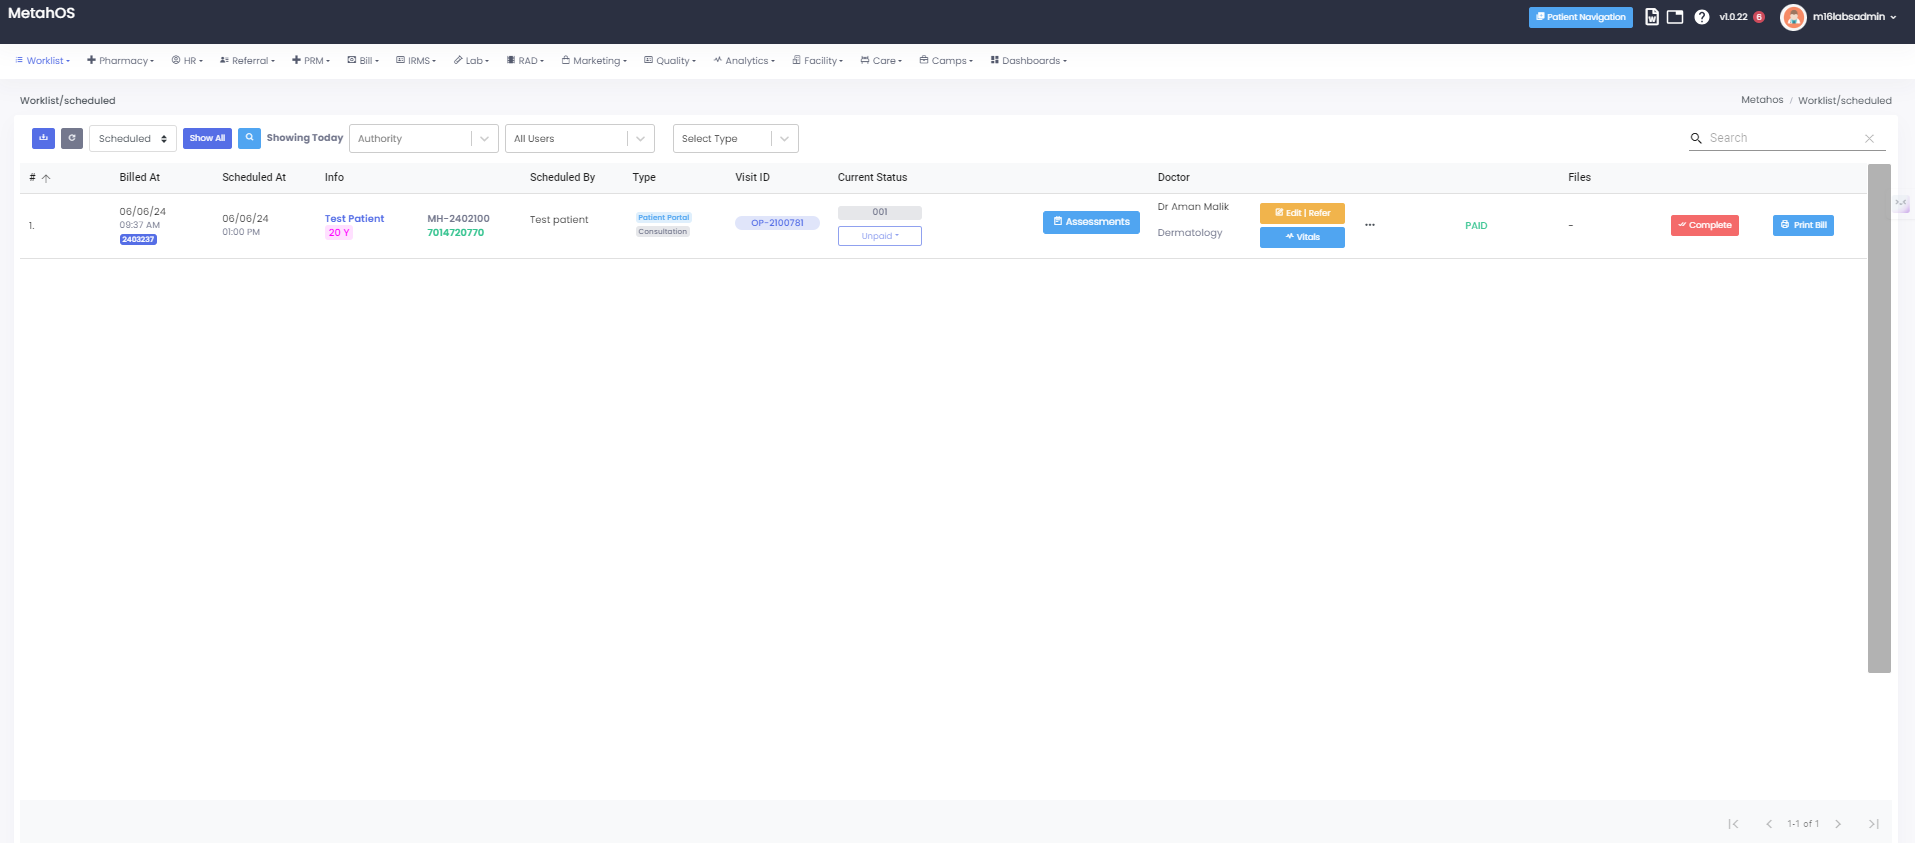
The “Consultation Queue” will present user with a visual overview of key information.
-The consultation queue displays a list of upcoming consultations scheduled for doctors, departments, or the entire facility.

The consultation queue offers filtering options to help user to manage schedule and patient flow efficiently. Here’s a breakdown of the available filters:
- Date
- Auto Refresh
- Grid View
- Create Link for Queue

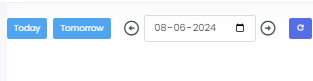
Date: This filter allow user to specify a date range to view consultations scheduled for a particular timeframe.
-User can choose to see upcoming consultations for today, tomorrow, a specific week, or a custom date range.
Search Bar:
-Appointment Details: Allow searching by specific appointment details beyond the patient name. This include:* Appointment ID
* Referring doctor name
Refresh: Clicking the “Refresh” button reloads the consultation queue with the latest information.
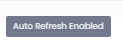
-This is useful after any changes are made to appointments or patient statuses within the software.Auto Refresh Enabled: Auto-refresh is a feature that automatically updates the information displayed on the screen at regular intervals.
-This ensures that user is always viewing the most current data without needing to manually refresh the page.
Grid View: This view mode might display the consultation queue information in a tabular format with multiple columns showcasing patient details, appointment times, and consultation status. This can be helpful for viewing a larger set of consultations at once.

Create link for Queue:
-Sharing the consultation schedule with colleagues within specific permissions.
-Allowing patients to view their upcoming appointments .
-STEPS:
- Locate the “Create Link for Queue” Button: This button is situated within the consultation queue menu.
- Click on the Button: Clicking this button will likely trigger a pop-up window to configure the link.
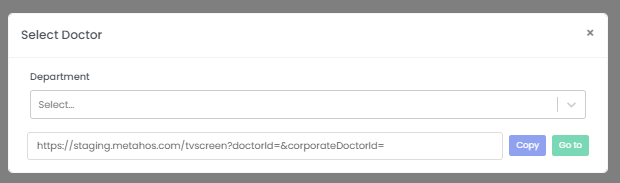
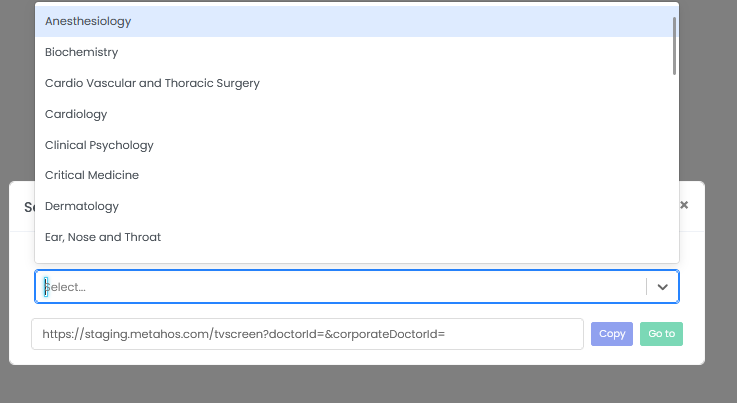
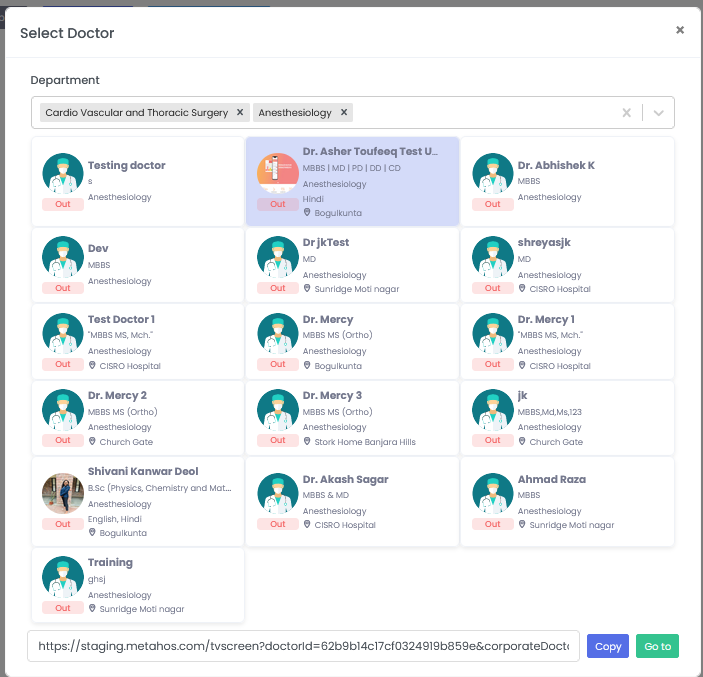
Department Selection Dropdown: The pop-up display a dropdown menu listing all available departments within the healthcare facility. Choosing a department from this list will restrict the link to consultations belonging to that specific department.
Doctor Selection: After selecting the department an option to choose a specific doctor within that department. This could be done through:
Doctor List: A menu listing all doctors associated with the chosen department.
-Selecting a doctor will further restrict the link to consultations assigned to that particular doctor.
-Once user have chosen the department and doctor, click on “Go To”.
User will be to land on a "consultation room" page after clicking a link for the consultation queue.
